

It is super easy in the Ghost editor to add pictures to a HTML table. First of all, the image has to be somewhere on the internet with a link. Then all you have to do is copy this link into the <img> brackets. What this looks like, you will find out in this post.
This becomes more clear through this example:
 |
 |
|---|---|
 |
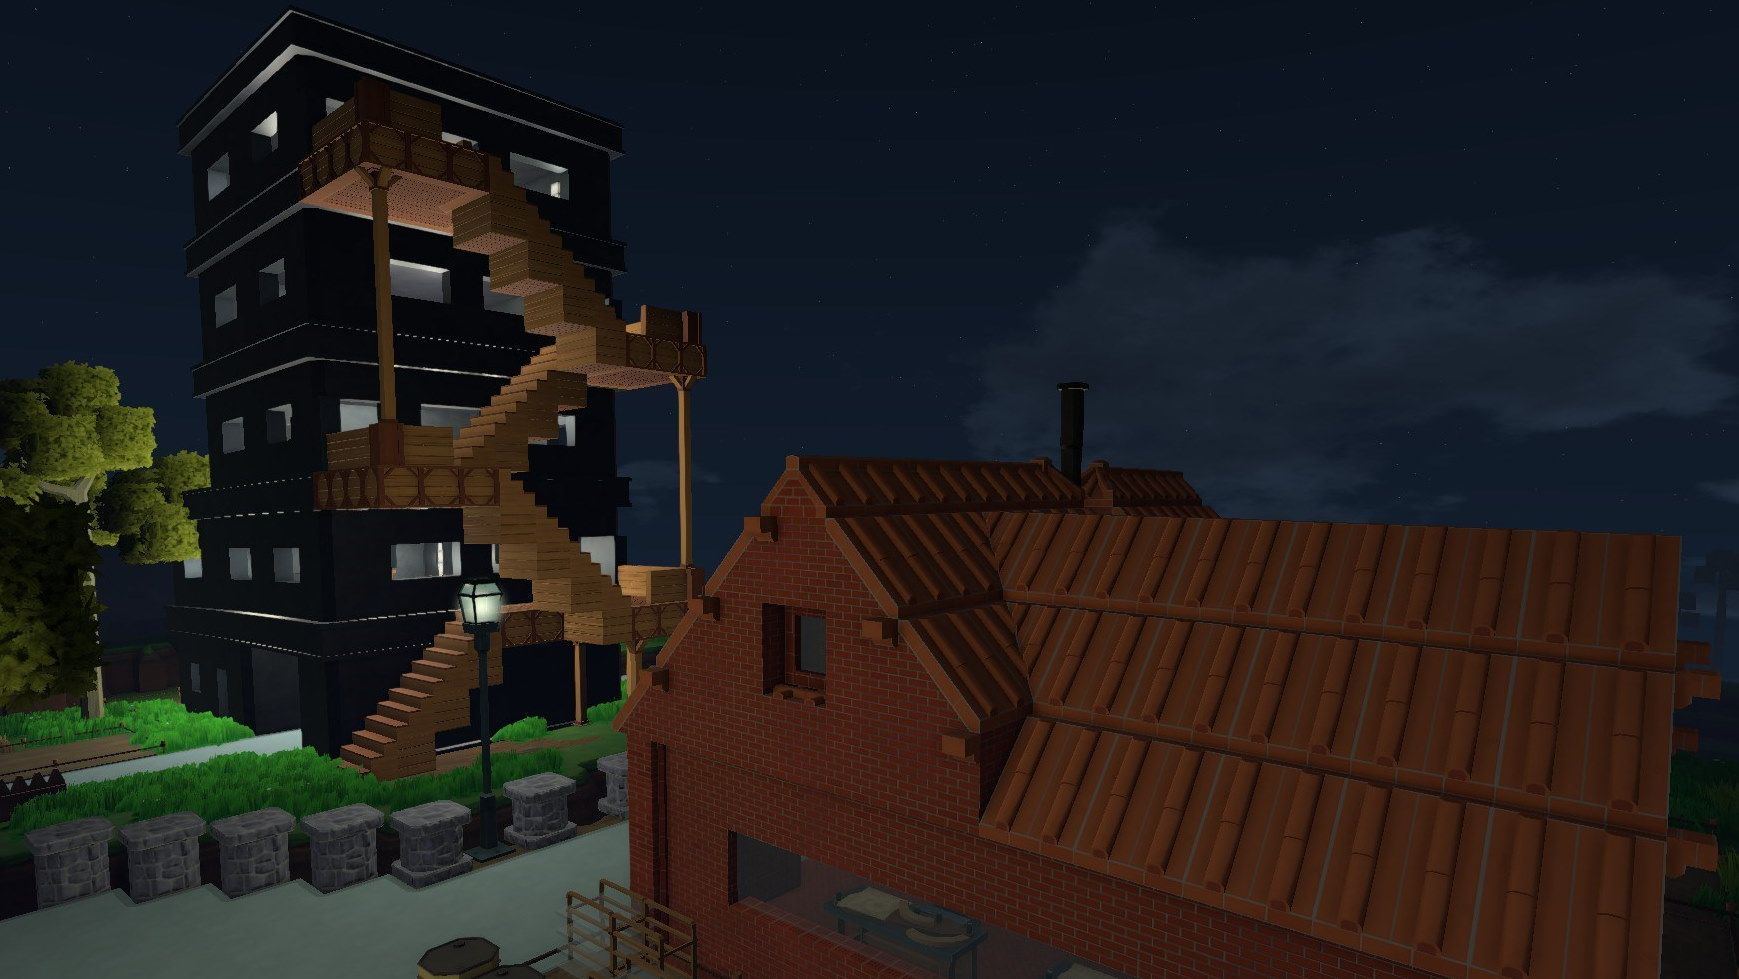 |
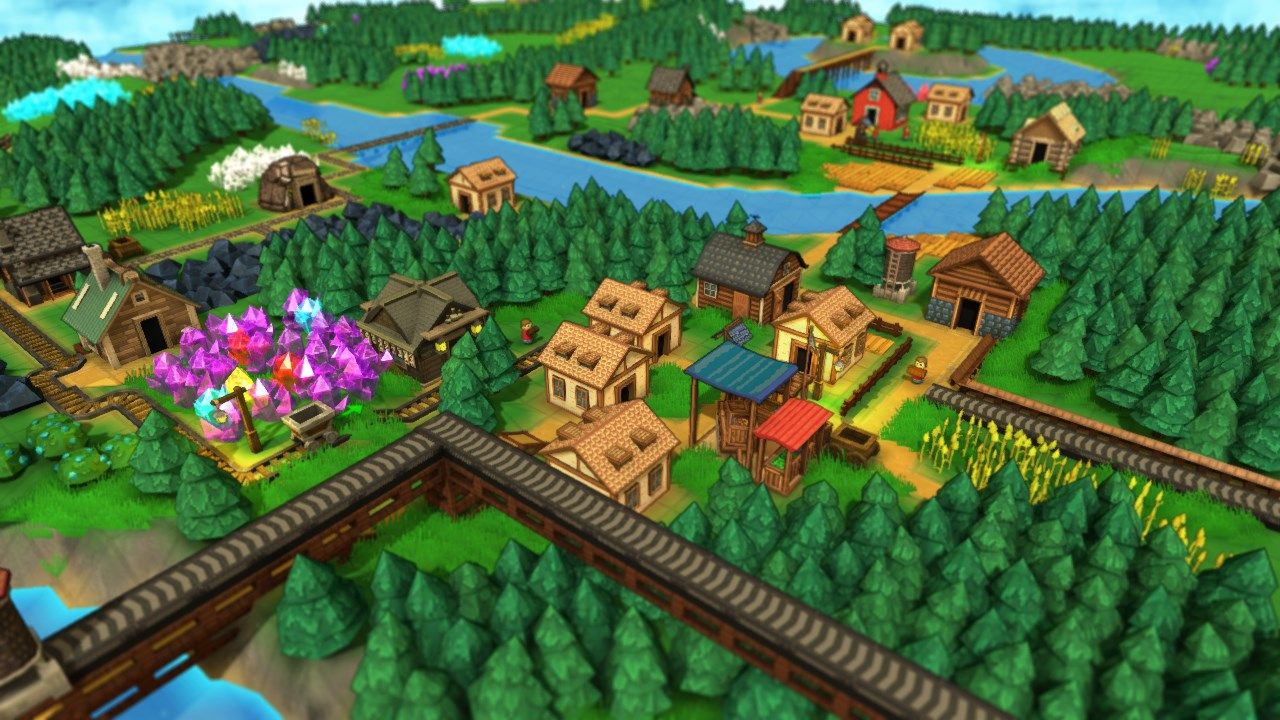
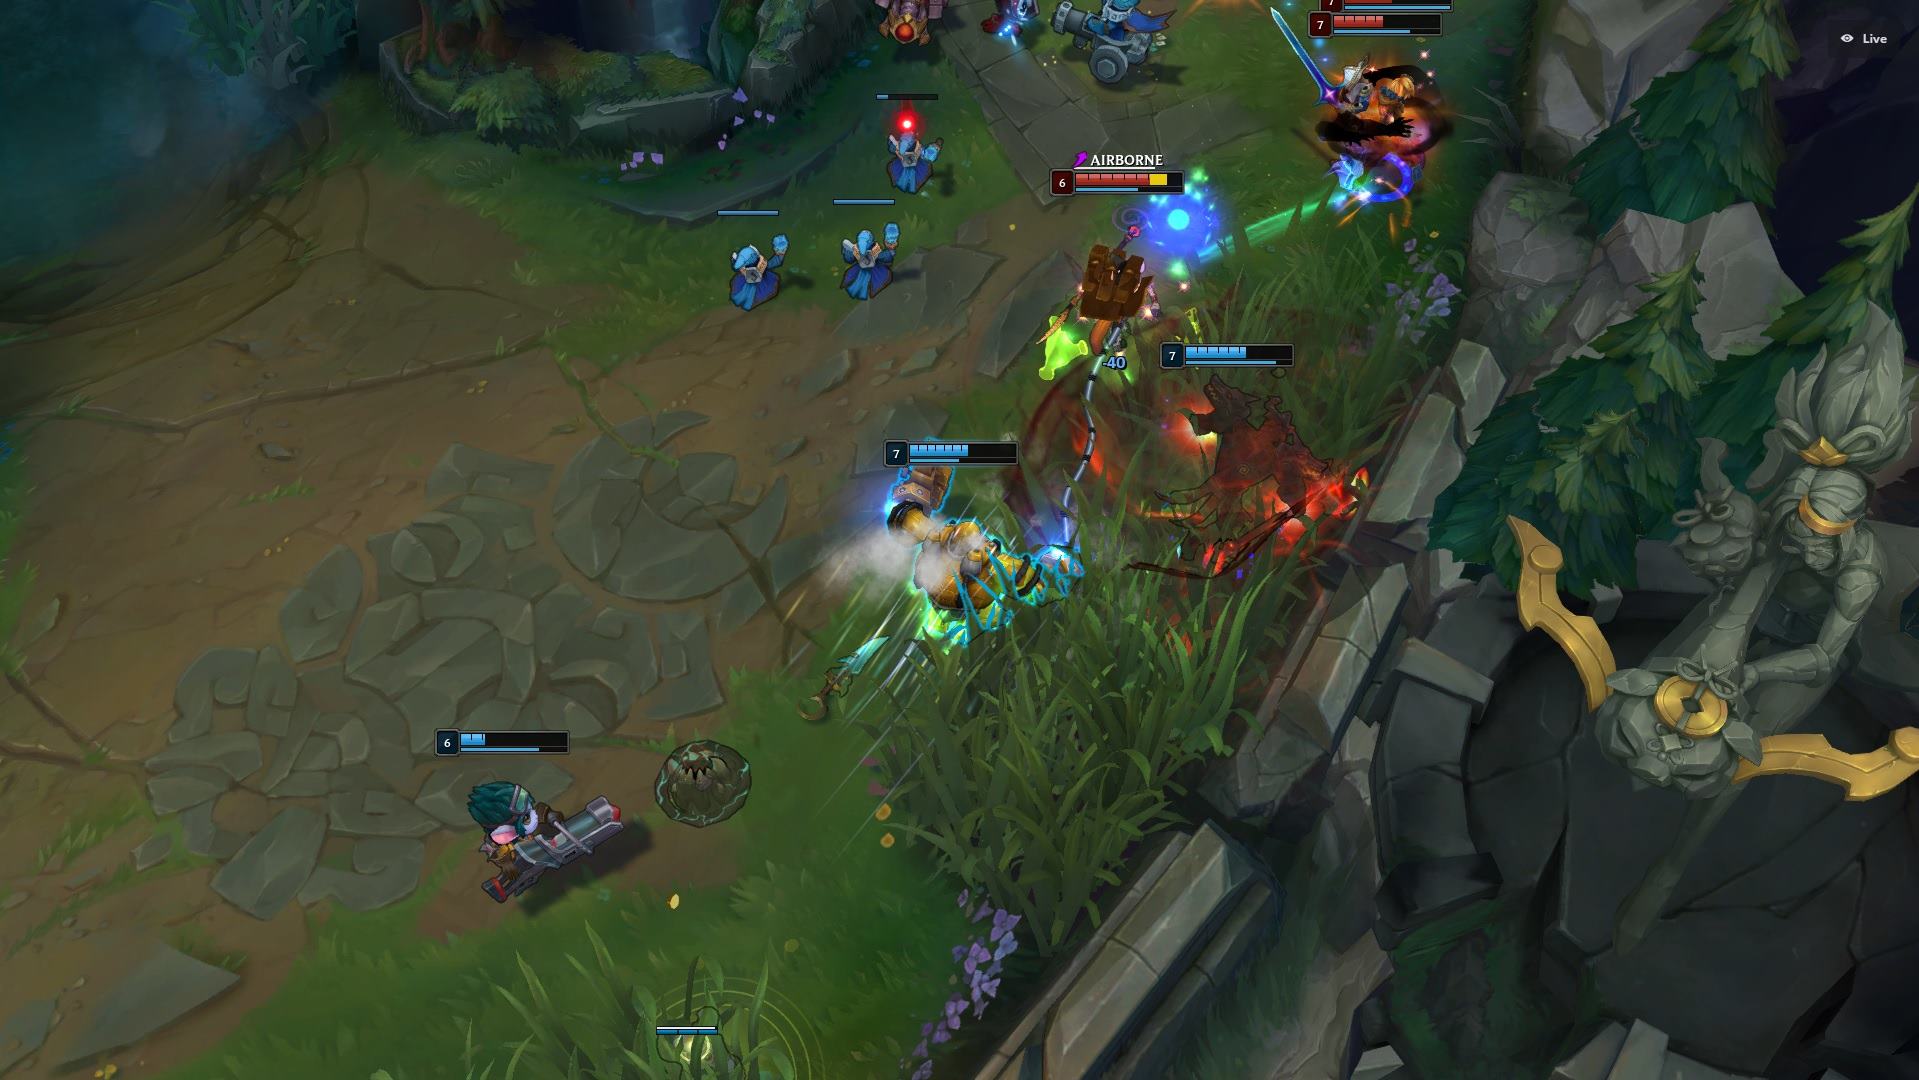
As you can see, I built a 2x2 table, which contains an image in every cell. The corresponding HTML code looks like this:
<table>
  <tr>
    <td><img src="/content/images/2019/04/Factory-Town.jpg" width="300"></td>
    <td><img src="/content/images/2019/03/League-of-Legends.jpg" width="300"></td>
  </tr>

  <tr>
    <td><img src="/content/images/2019/07/Shakes-and-Fidget.jpg" width="300" ></td>
    <td><img src="/content/images/2019/07/Eco.jpg" width="300"></td>
  </tr>
</table>
Adding a Link to an Image in HTML
In order to add a link to an image, so that clicking on the image will redirect the user to a new page, you will need the HTML attribute href (Hypertext Reference). How the whole thing works, you will find out in this post.
 julian
To add an image, between the brackets <td></td> the following code is needed:
<img src="/content/images/2019/04/Factory-Town.jpg">
The link of the image is pasted in between the quotation marks. To make all images in the table equally wide, I added the attribute width="300". Such attributes have to be always added in between the <img> brackets.


If you press this button it will load Disqus-Comments. More on Disqus Privacy: Link