Comparison with the Raspberry Pi 5
Both systems with similar features cost around 200 euros, with the Raspberry Pi costing a little less and the NiPoGi Mini-PC a little more than 200 euros. The advantage of the Raspberry Pi 5 is its lower power consumption and very compact design.

Power consumption and performance
The NiPoGi GK3 Plus consumes about two watts more for similar performance, but offers access to significantly higher CPU and graphics processing power. With the right software, you can utilize the powerful video decoder and encoder of the integrated iGPU, which supports significantly more video formats than the Raspberry Pi 5.
Storage
When it comes to storage, the NiPoGi Mini-PC with 16 GB of RAM has a clear advantage over the Raspberry. The options for expanding the hard drive storage are also better, as the NiPoGi Mini-PC has a SATA and an NVMe connector.
Ports and Connectors
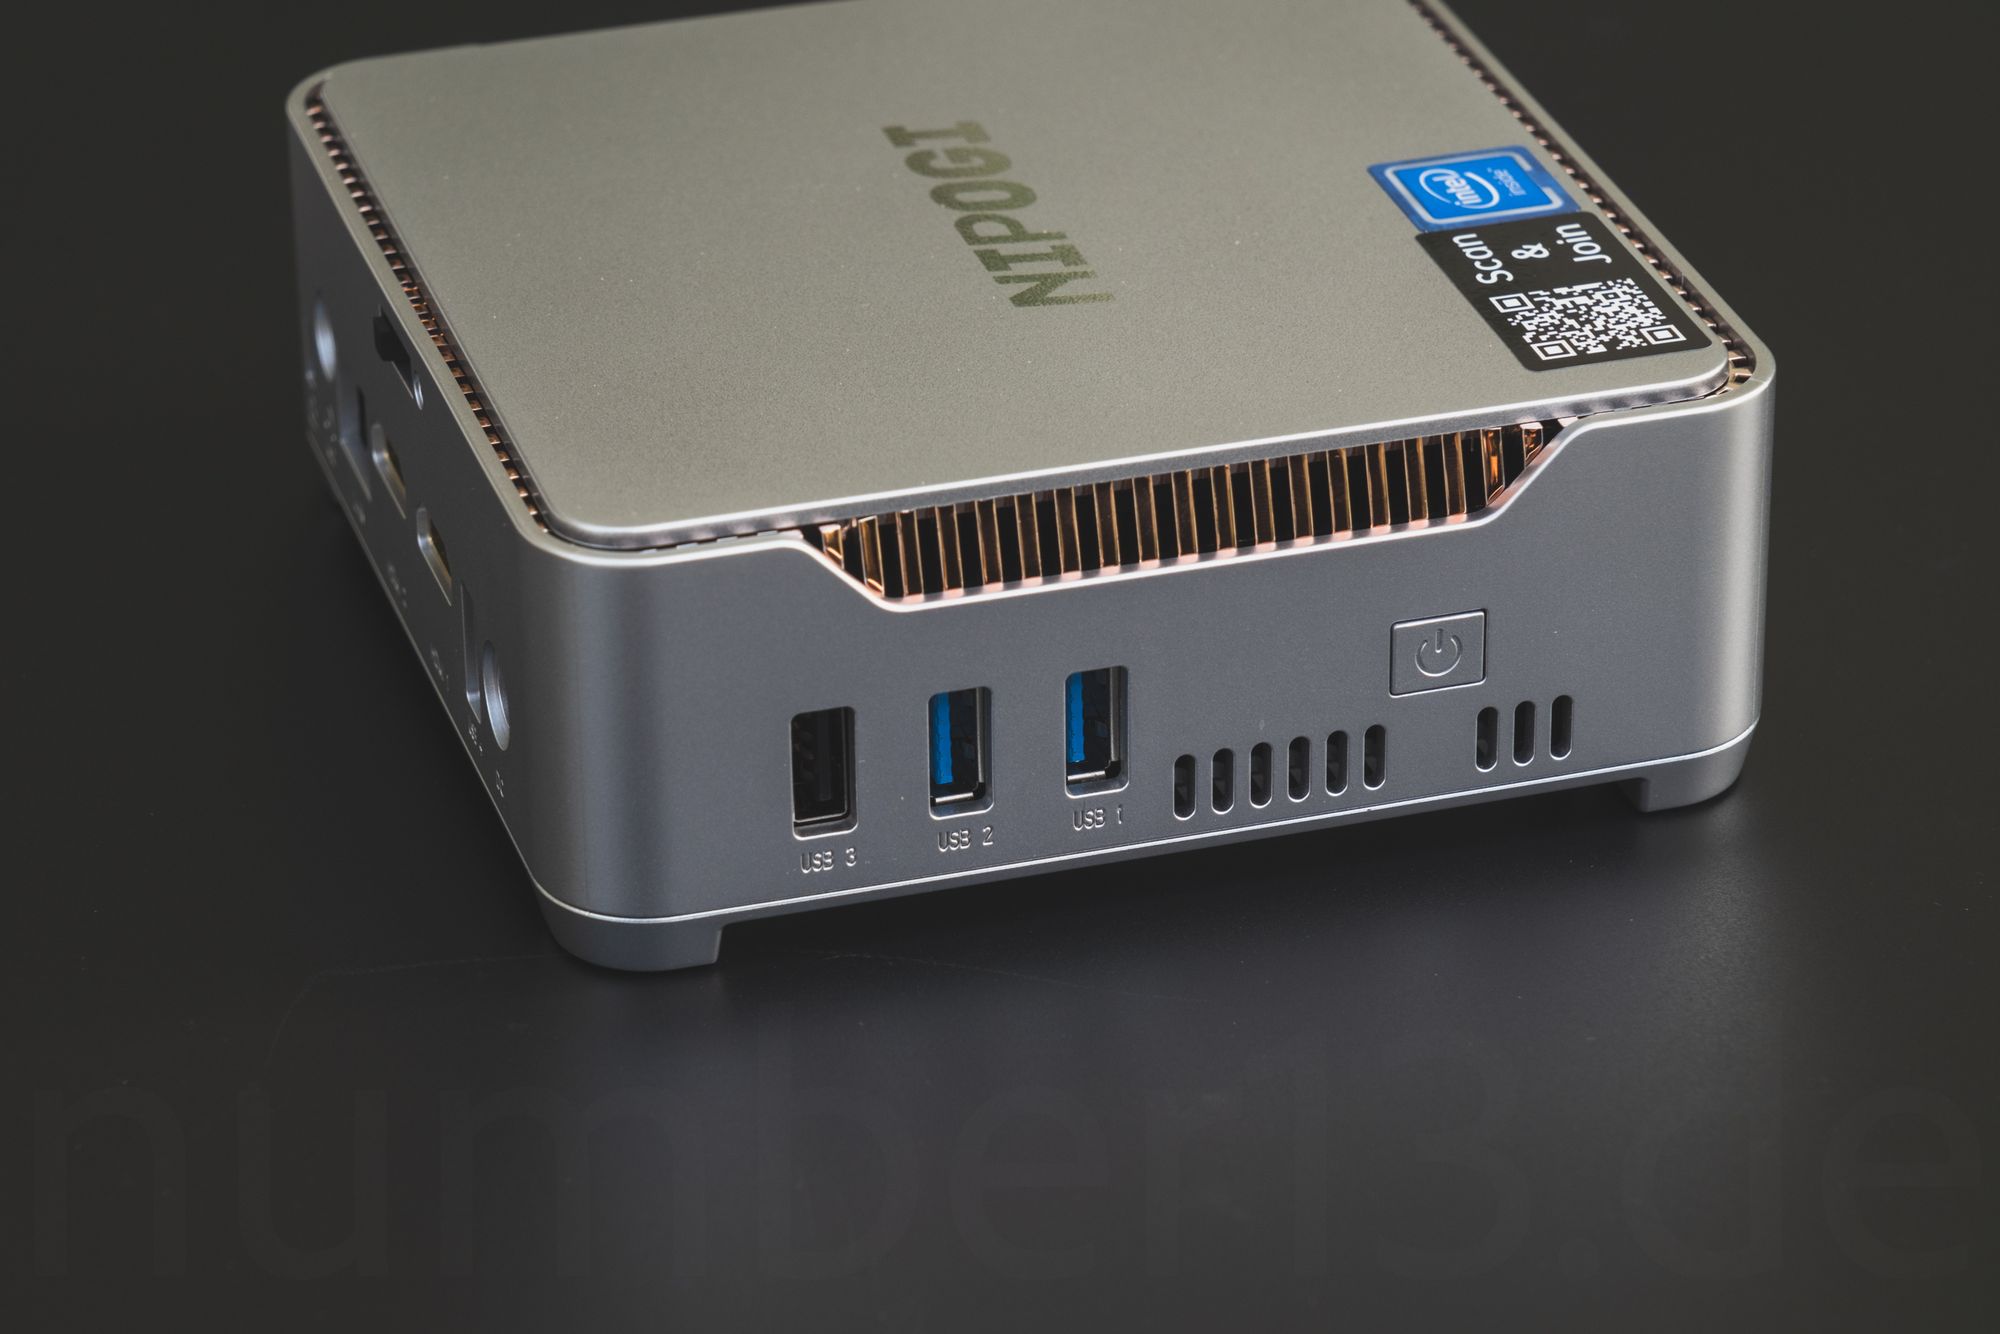
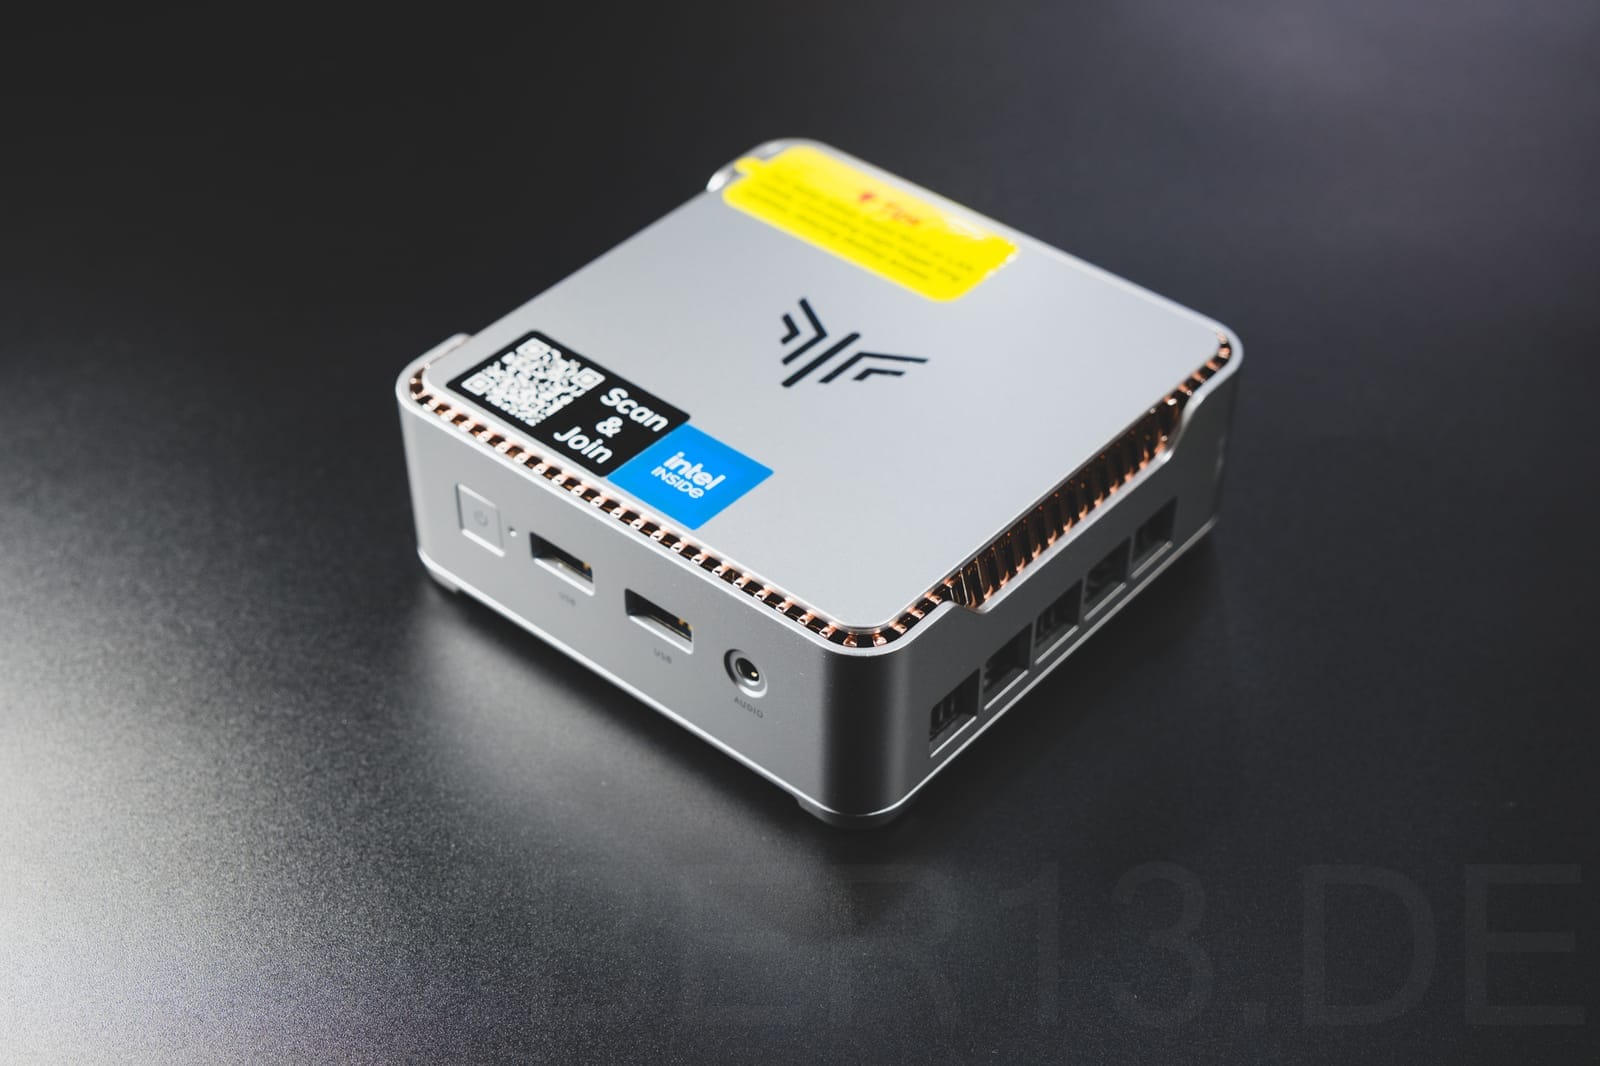
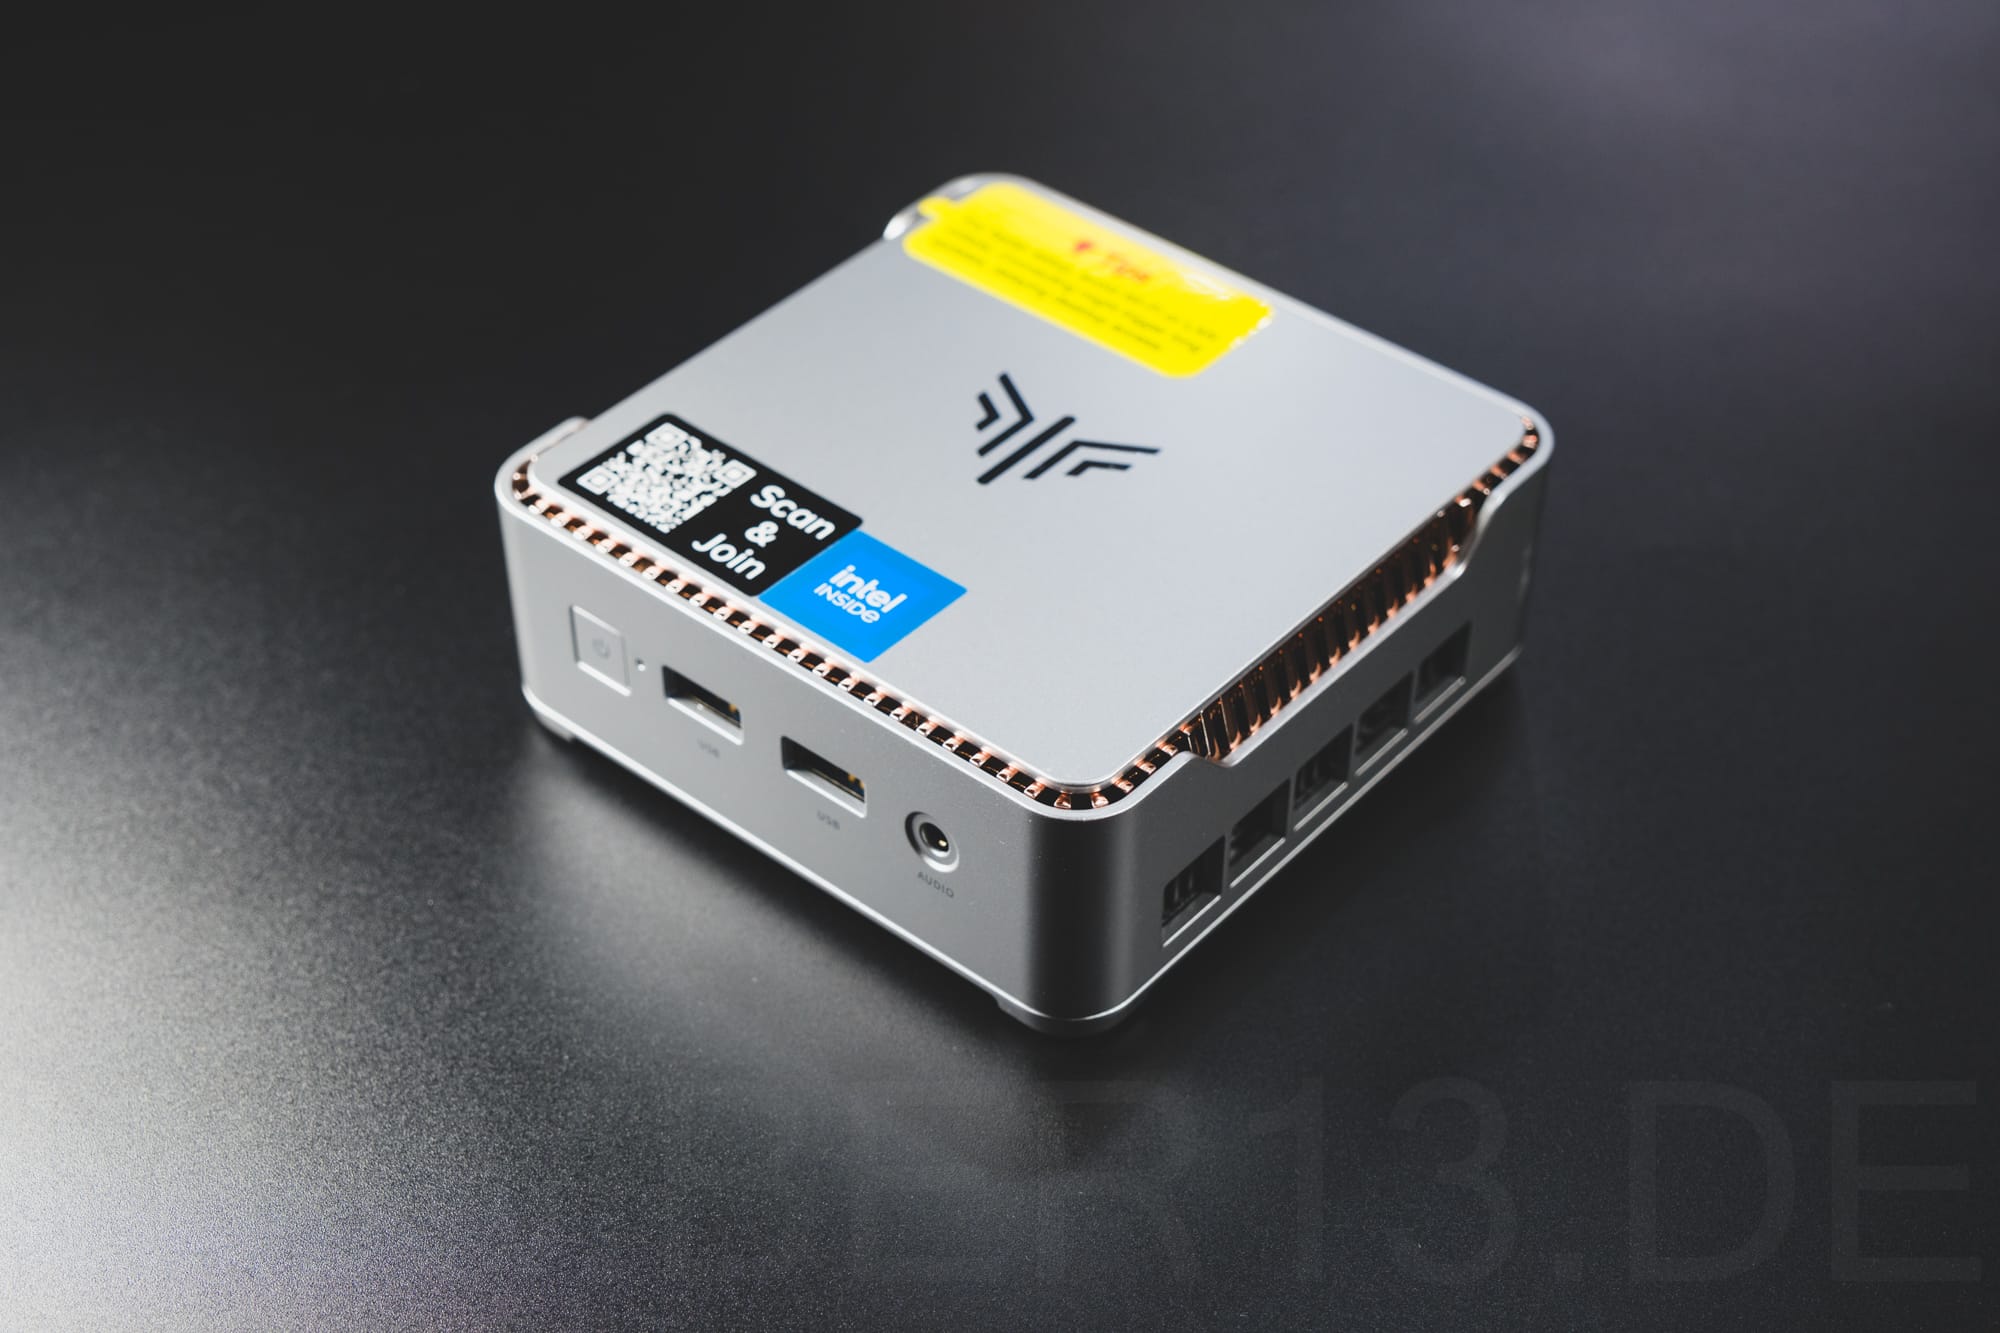
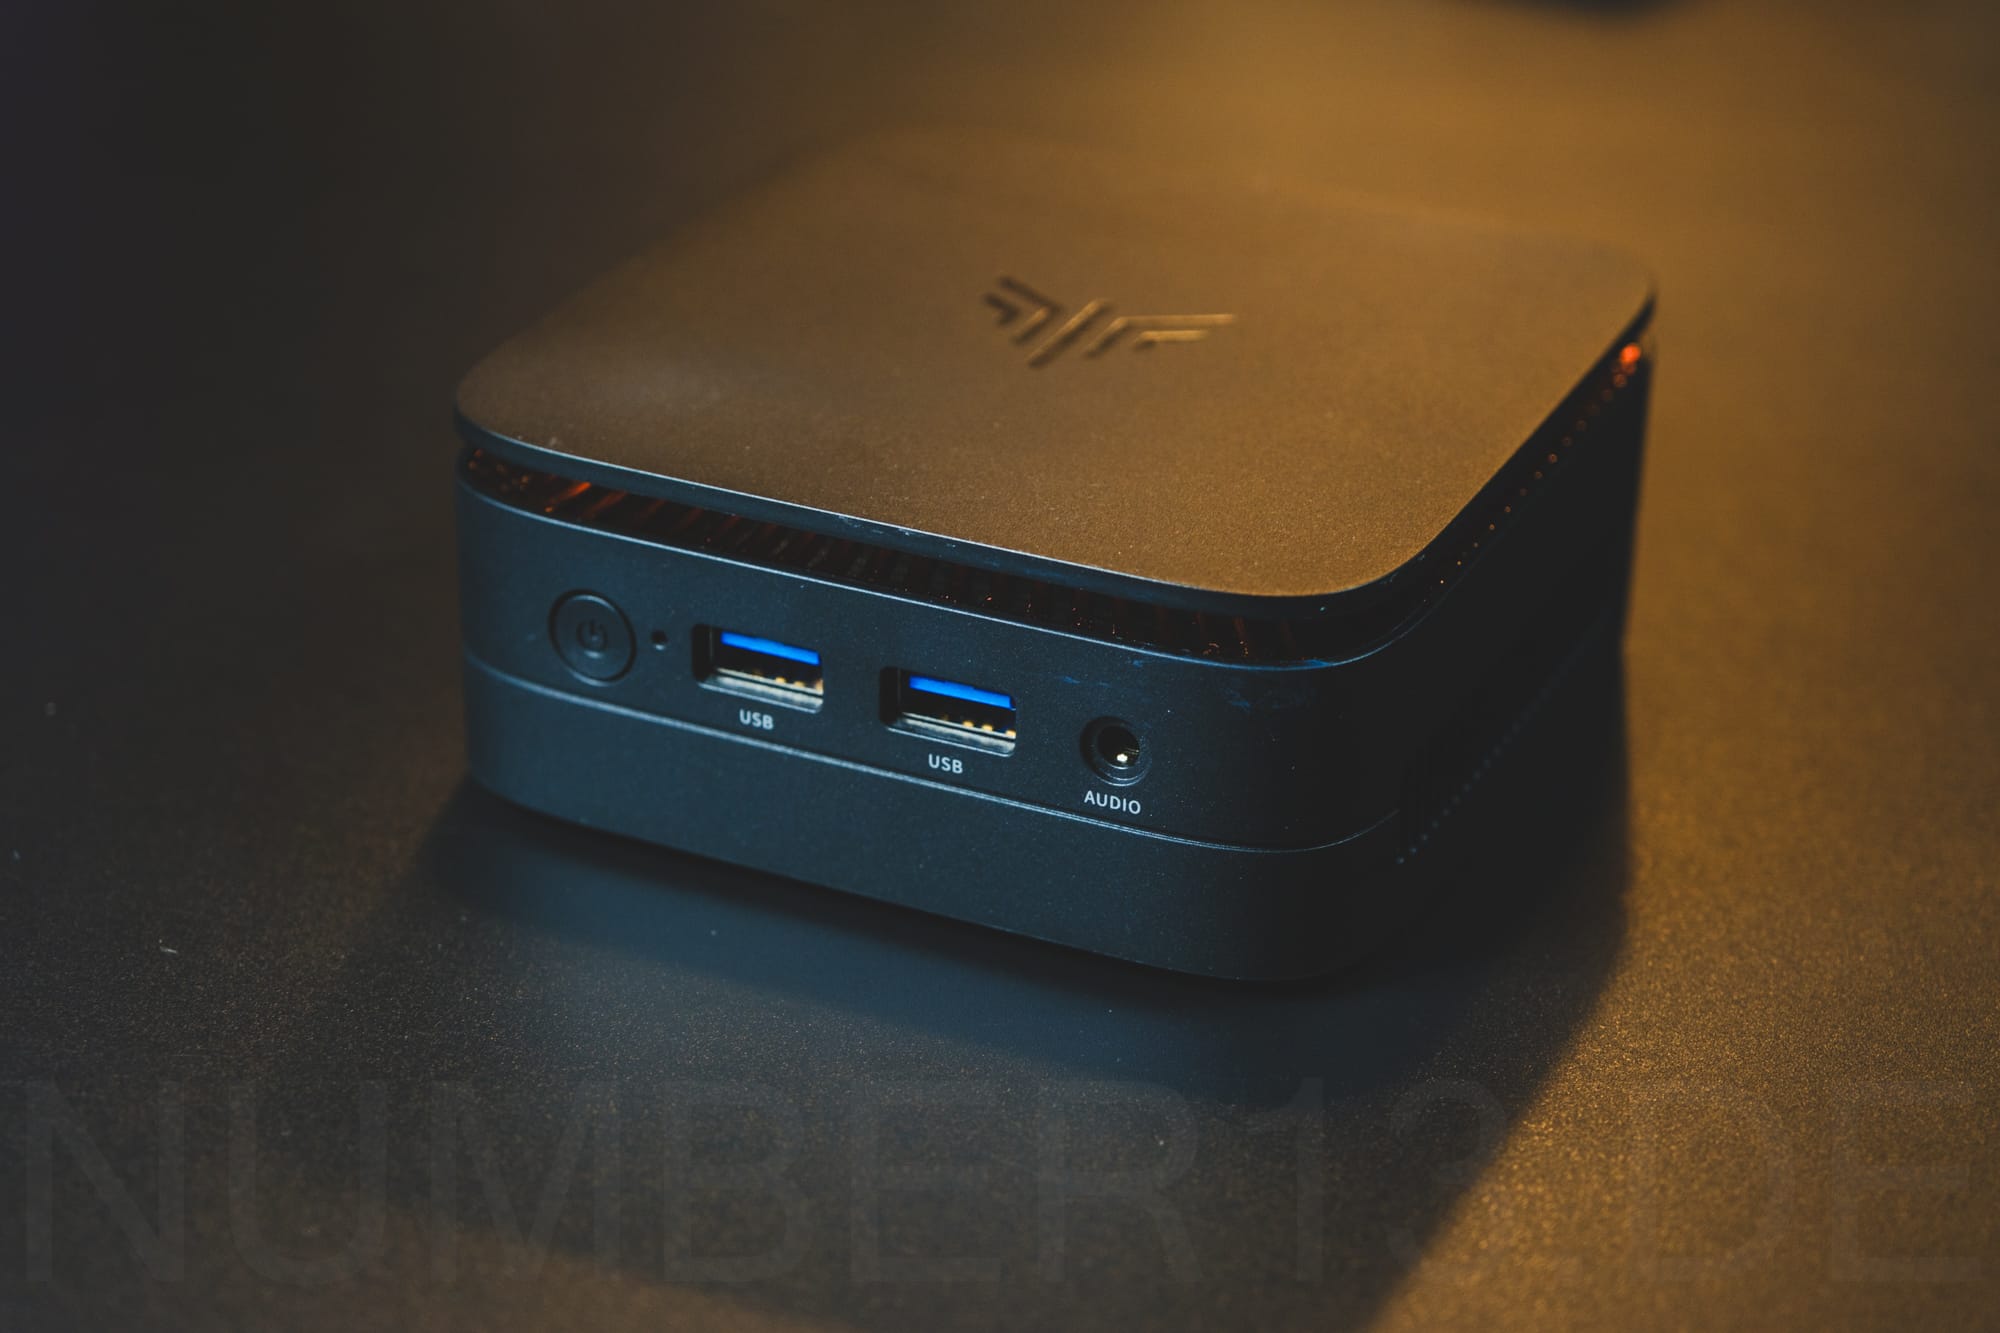
The connection options are similar, with two HDMI ports and four USB ports (2 x USB 3.0, 2 x USB 2.0). However, additional adapters are required for the Raspberry Pi.
Connectivity
Network connectivity is similar, with both devices delivering maximum performance with the Gigabit network adapter. However, the Raspberry Pi's Wi-Fi adapter only supports Wi-Fi 5, while the NiPoGi GK3 Plus supports Wi-Fi 6, which is not only slightly faster, but can often make a significant difference in practice.
Installing Proxmox
When installing, you can follow the installation instructions from Proxmox. You just have to make sure that you select the appropriate network card depending on your intended use.
After installing Proxmox, two specific scripts from https://tteck.github.io/ are useful to correctly configure the Proxmox installation and then install Home Assistant.
Proxmox Post Install Script
bash -c "$(wget -qLO - https://github.com/tteck/Proxmox/raw/main/misc/post-pve-install.sh)"Proxmox Home Assistant Install Script
bash -c "$(wget -qLO - https://github.com/tteck/Proxmox/raw/main/vm/haos-vm.sh)"You will then find a Home Assistant VM in Proxmox that can be started and set up.
Power consumption
Below, I have outlined several load scenarios involving different levels of utilization across one or more CPU cores. The measurements were conducted without a connected monitor and without USB devices, using a Shelly Plus Plug S. The powertop --auto-tune setting was used for all tests.
For the test, only a SATA SSD was installed as a hard drive, which saves approximately 2 watts compared to using an NVMe SSD.
Consumption when one core is in use
| Usage (%) | Power (Watts) |
|---|---|
| 10% | 5.3 |
| 20% | 6.5 |
| 40% | 8.2 |
| 60% | 10.2 |
| 80% | 12.3 |
| 100% | 14.1 |
Consumption when using four cores
| Usage (%) | Power (Watts) |
|---|---|
| 10% | 7.1 |
| 20% | 9.1 |
| 40% | 12.4 |
| 60% | 14.4 |
| 80% | 16.1 |
| 100% | 17.4 |
Application-specific energy consumption with Proxmox
- Without load, i.e. without an active virtual machine, the power consumption is 4.8 watts.
- With Home Assistant running, the idle consumption is between 5 to 6 watts. If Home Assistant is executing computationally intensive processes, consumption can rise to as much as 10 watts.
- An active ZigBee stick increases the idle consumption to 7 to 8 watts.
NiPoGi GK3 Plus as Home Server
Suitable tasks as a home server
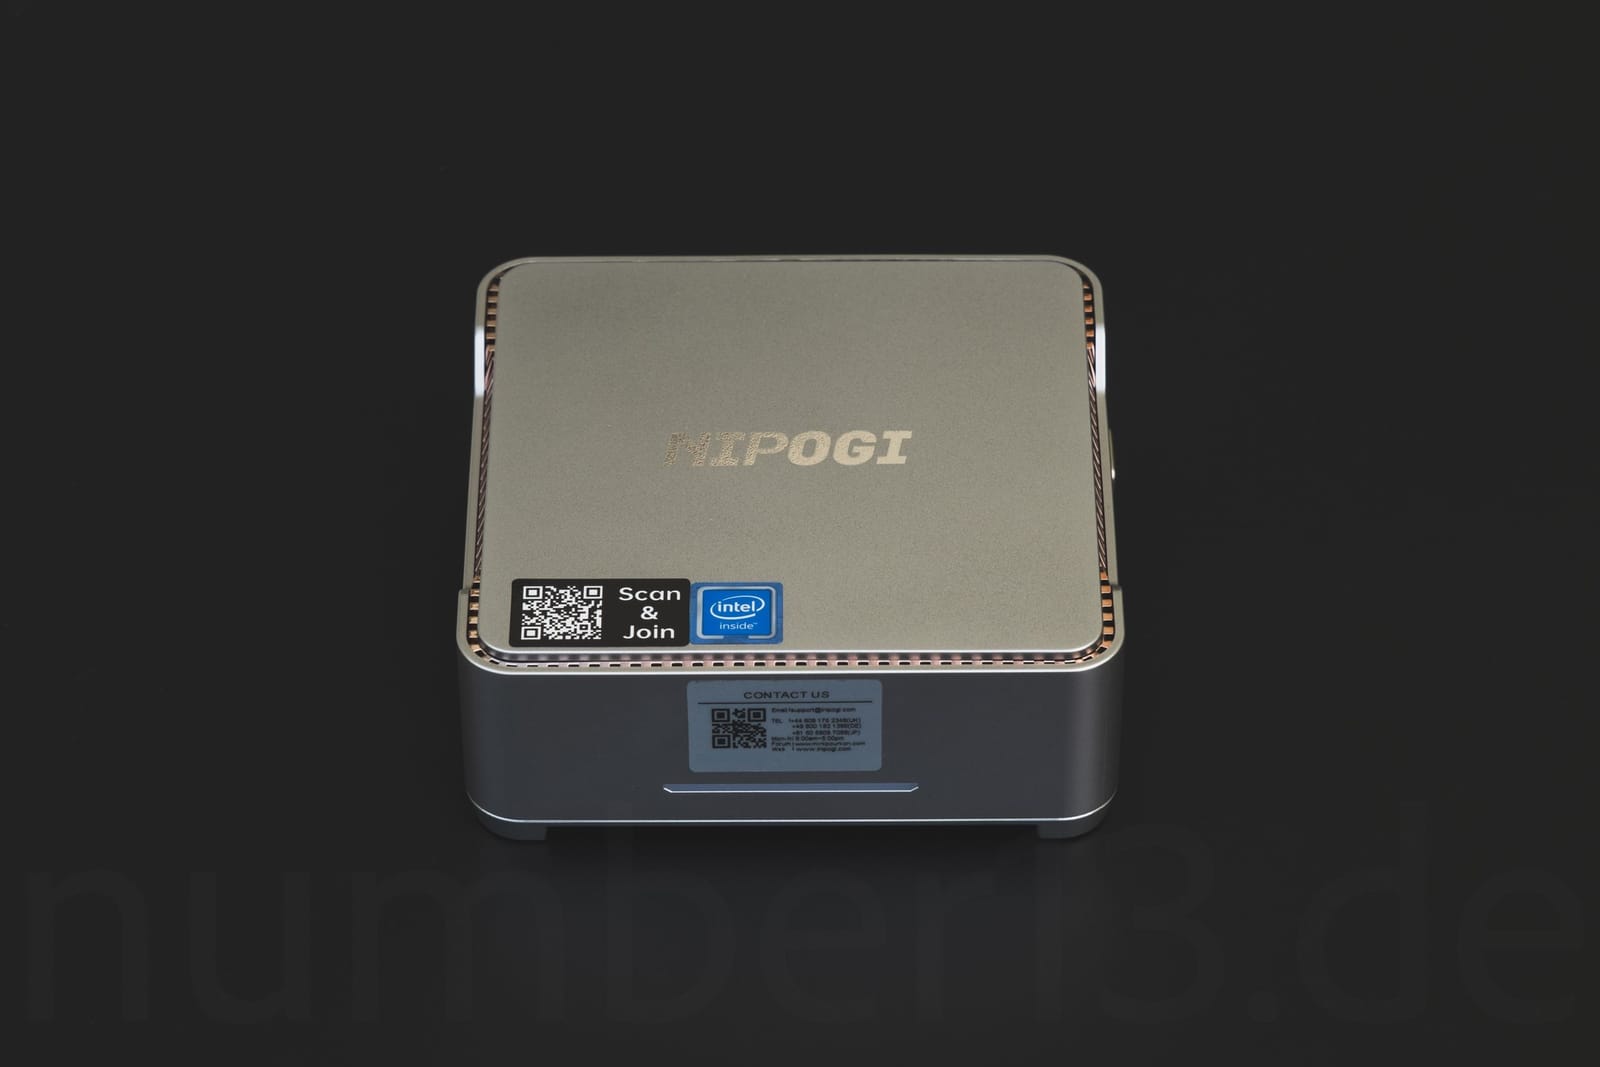
The NiPoGi Mini-PC is suitable for simple tasks such as Home Assistant, as a storage server or for less demanding computing tasks. With the integrated iGPU and its hardware acceleration, the Mini-PC can also be used as a good host for a Jellyfin instance, for example. Thermal throttling is not to be expected, as the large heat sink constantly cools the Intel N97 processor sufficiently.

The Mini-PC can be described as silent; even when fully loaded, it can only be heard from a few centimeters away.
Simultaneous use as Linux desktop
With the ability to pass the integrated Intel graphics card through to a virtual machine, the NiPoGi GK3 Plus with Intel N97 can be used as a desktop computer at the same time. To do this, simply create a virtual machine and install Ubuntu, Debian, Arch Linux or other distributions with the latest kernel and pass the Intel graphics card to the virtual machine via PCI passthrough. Hardware acceleration with the Intel GPU is then also available in the VM.
This setup, which is only in a virtual machine, makes it possible to use the Mini-PC as a media PC with Jellyfin or as a desktop computer at the same time. All this without affecting the other virtual machines that are already running in Proxmox.
Small storage server
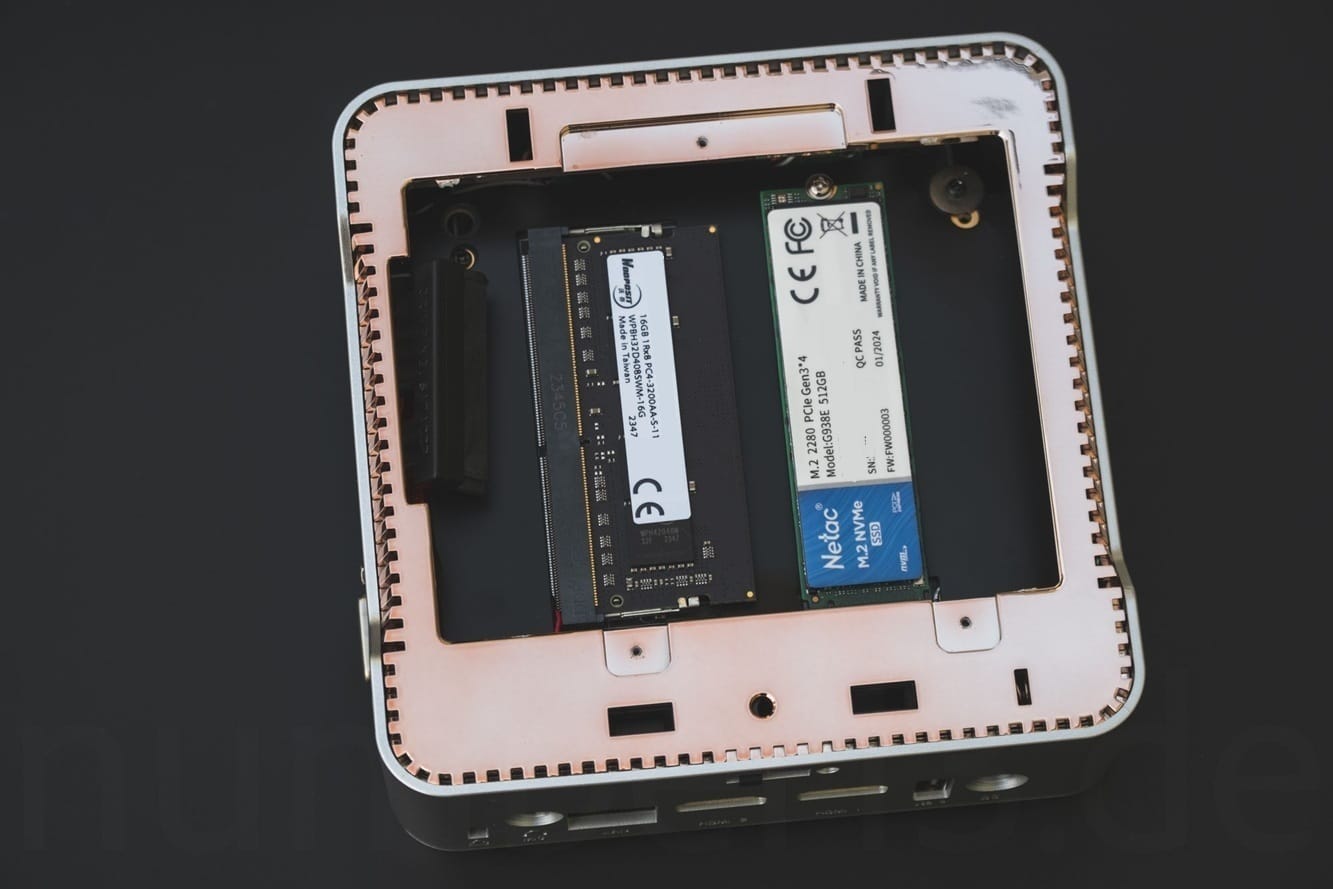
Thanks to the ability to swap out the NVMe SSD or install another SATA hard drive, the NiPoGi can be used with up to 12 TB of storage. This statement is based on the ability to buy an NVMe SSD with a maximum of 8 TB and a SATA SSD with a maximum of 4 TB; however, this has not been tested. I tested a 4 TB SATA and NVMe SSD.
WLAN access point
The integrated WLAN adapter also allows you to use it as a WLAN access point. In this case, you simply pass the WLAN adapter to a virtual machine. I will not go into the configuration and operating system of the access point in this article.
Conclusion
Building a minimalist home server with the NiPoGi GK3 Plus is a very good idea, but the memory limitation of 16 GB somewhat limits the Mini-PC. However, these 16 GB are more than enough for most home users.
The Mini-PC impresses with its very low power consumption, which can be reduced even further with a few tricks.
If you are looking for a small, unobtrusive home server for Home Assistant, other home automation or simple tasks, then the Mini-PC for around 200 euros is an absolute recommendation.
Buy NiPoGi GK3 Plus
We have also received a special coupon from NiPoGi that makes the order an additional 15 euros cheaper. Simply use the code LA7J52NR when paying. (German Amazon Store)
* Affiliate Links: By purchasing from Amazon you support us. There are no additional costs for you when purchasing ❤️



If you press this button it will load Disqus-Comments. More on Disqus Privacy: Link