
In this blog post I explain how to reset or reset the IKEA remote control, also known as the IKEA TRÅDFRI remote. If you need an inexpensive remote control for the Zigbee Home Assistant (ZHA), you can't get past the IKEA remote controls. If you want to integrate an existing remote control into ZHA, it must be reset in advance.
This post shows you how to reset the IKEA remote control or the IKEA TRÅDFRI remote.
If you need an affordable Zigbee Home Assistant (ZHA) remote control, then IKEA remote controls are a great choice.
If you want to integrate an existing remote with ZHA, you must first reset it. You can find out how this works in this post.
To reset the remote control, you can also just watch the IKEA video.
Alternatively, you can follow my little guide:
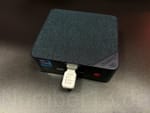
- Opens the case from the back
- Click the small button 4x within 5 seconds
- The remote control now acknowledges the reset with a red flashing LED.
home assistant
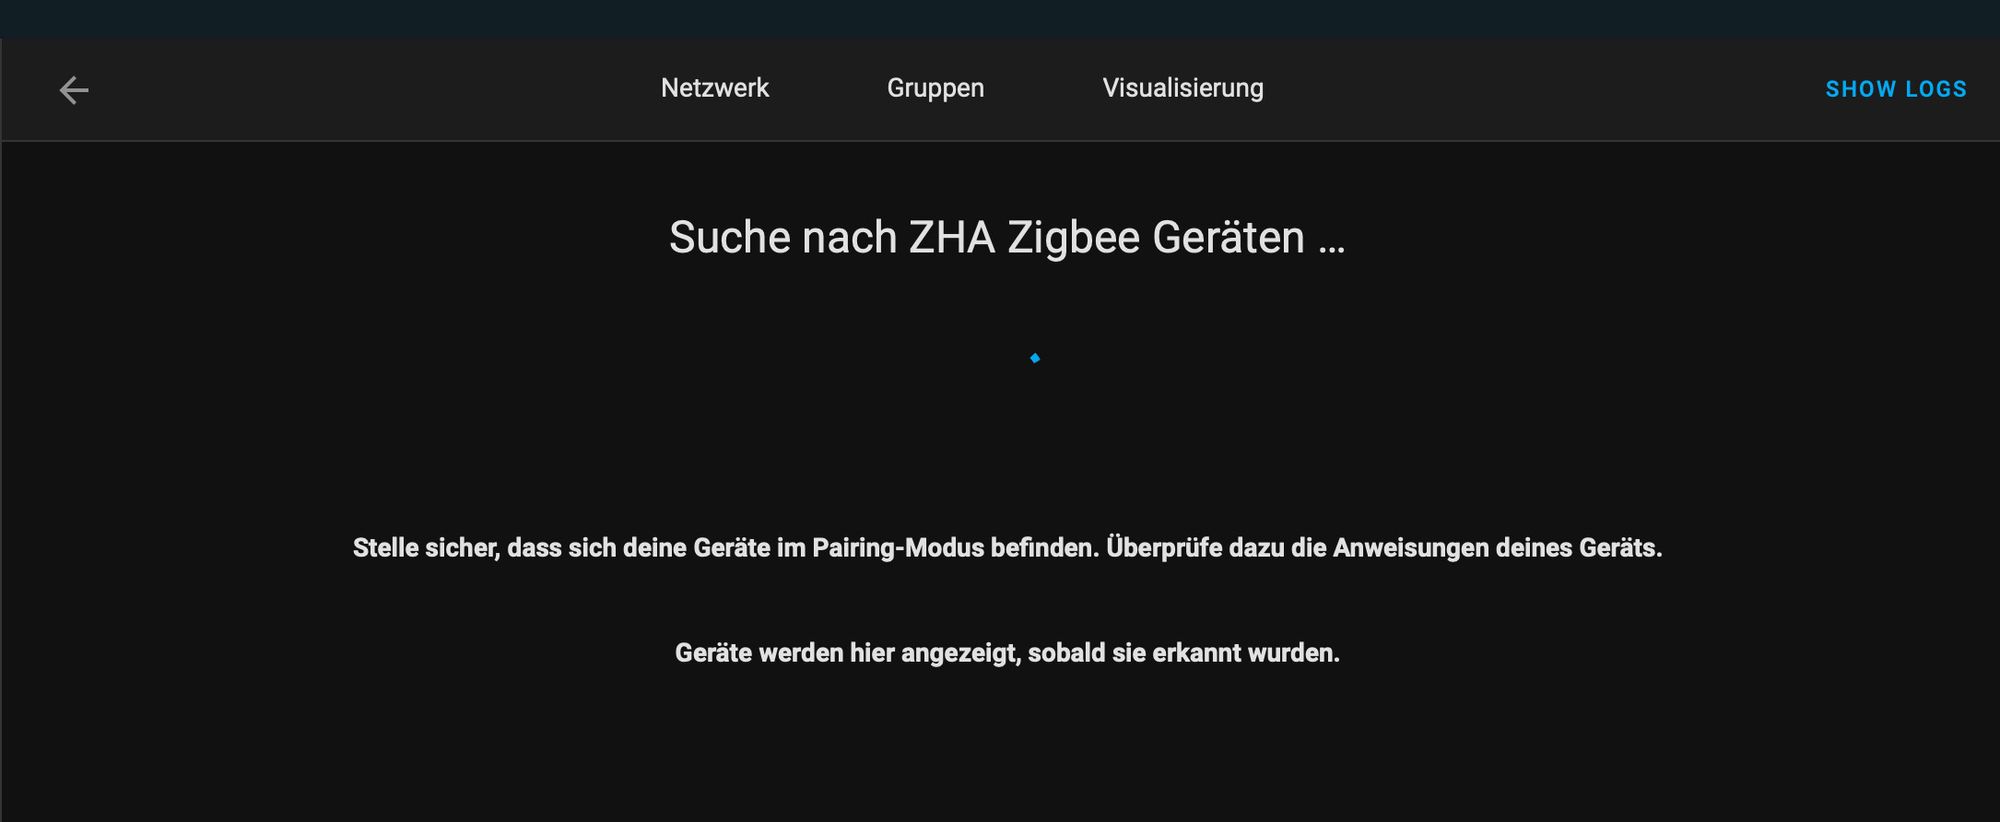
In order to then integrate the remote control into Homeassistant, you must press and hold the button on the remote control for at least 10 seconds until the LED signals its readiness for pairing with a gentle flash. Before that you have to add a new device under ZHA so that the Zigbee search has started. After some time the device appears, I then left the remote control near the gateway so that everyone can configure themselves.
TRÅDFRI remote control pairing
- Start pairing mode in ZHA (add device).
- Press the button on the back for more than 10 seconds.
- The LED will now light up and down gently.
- The remote control has now been found, wait until everything has been configured.
(Advertisement) If you are still looking for sockets for ZHA, I currently often use the Zigbee sockets from NOUS and have had very good experiences with these sockets. These can be purchased on Amazon.de, for example: https://amzn.to/3PBBPsk *
Affiliate link, if you buy through this link you support our blog - thank you. There are no additional costs for you.


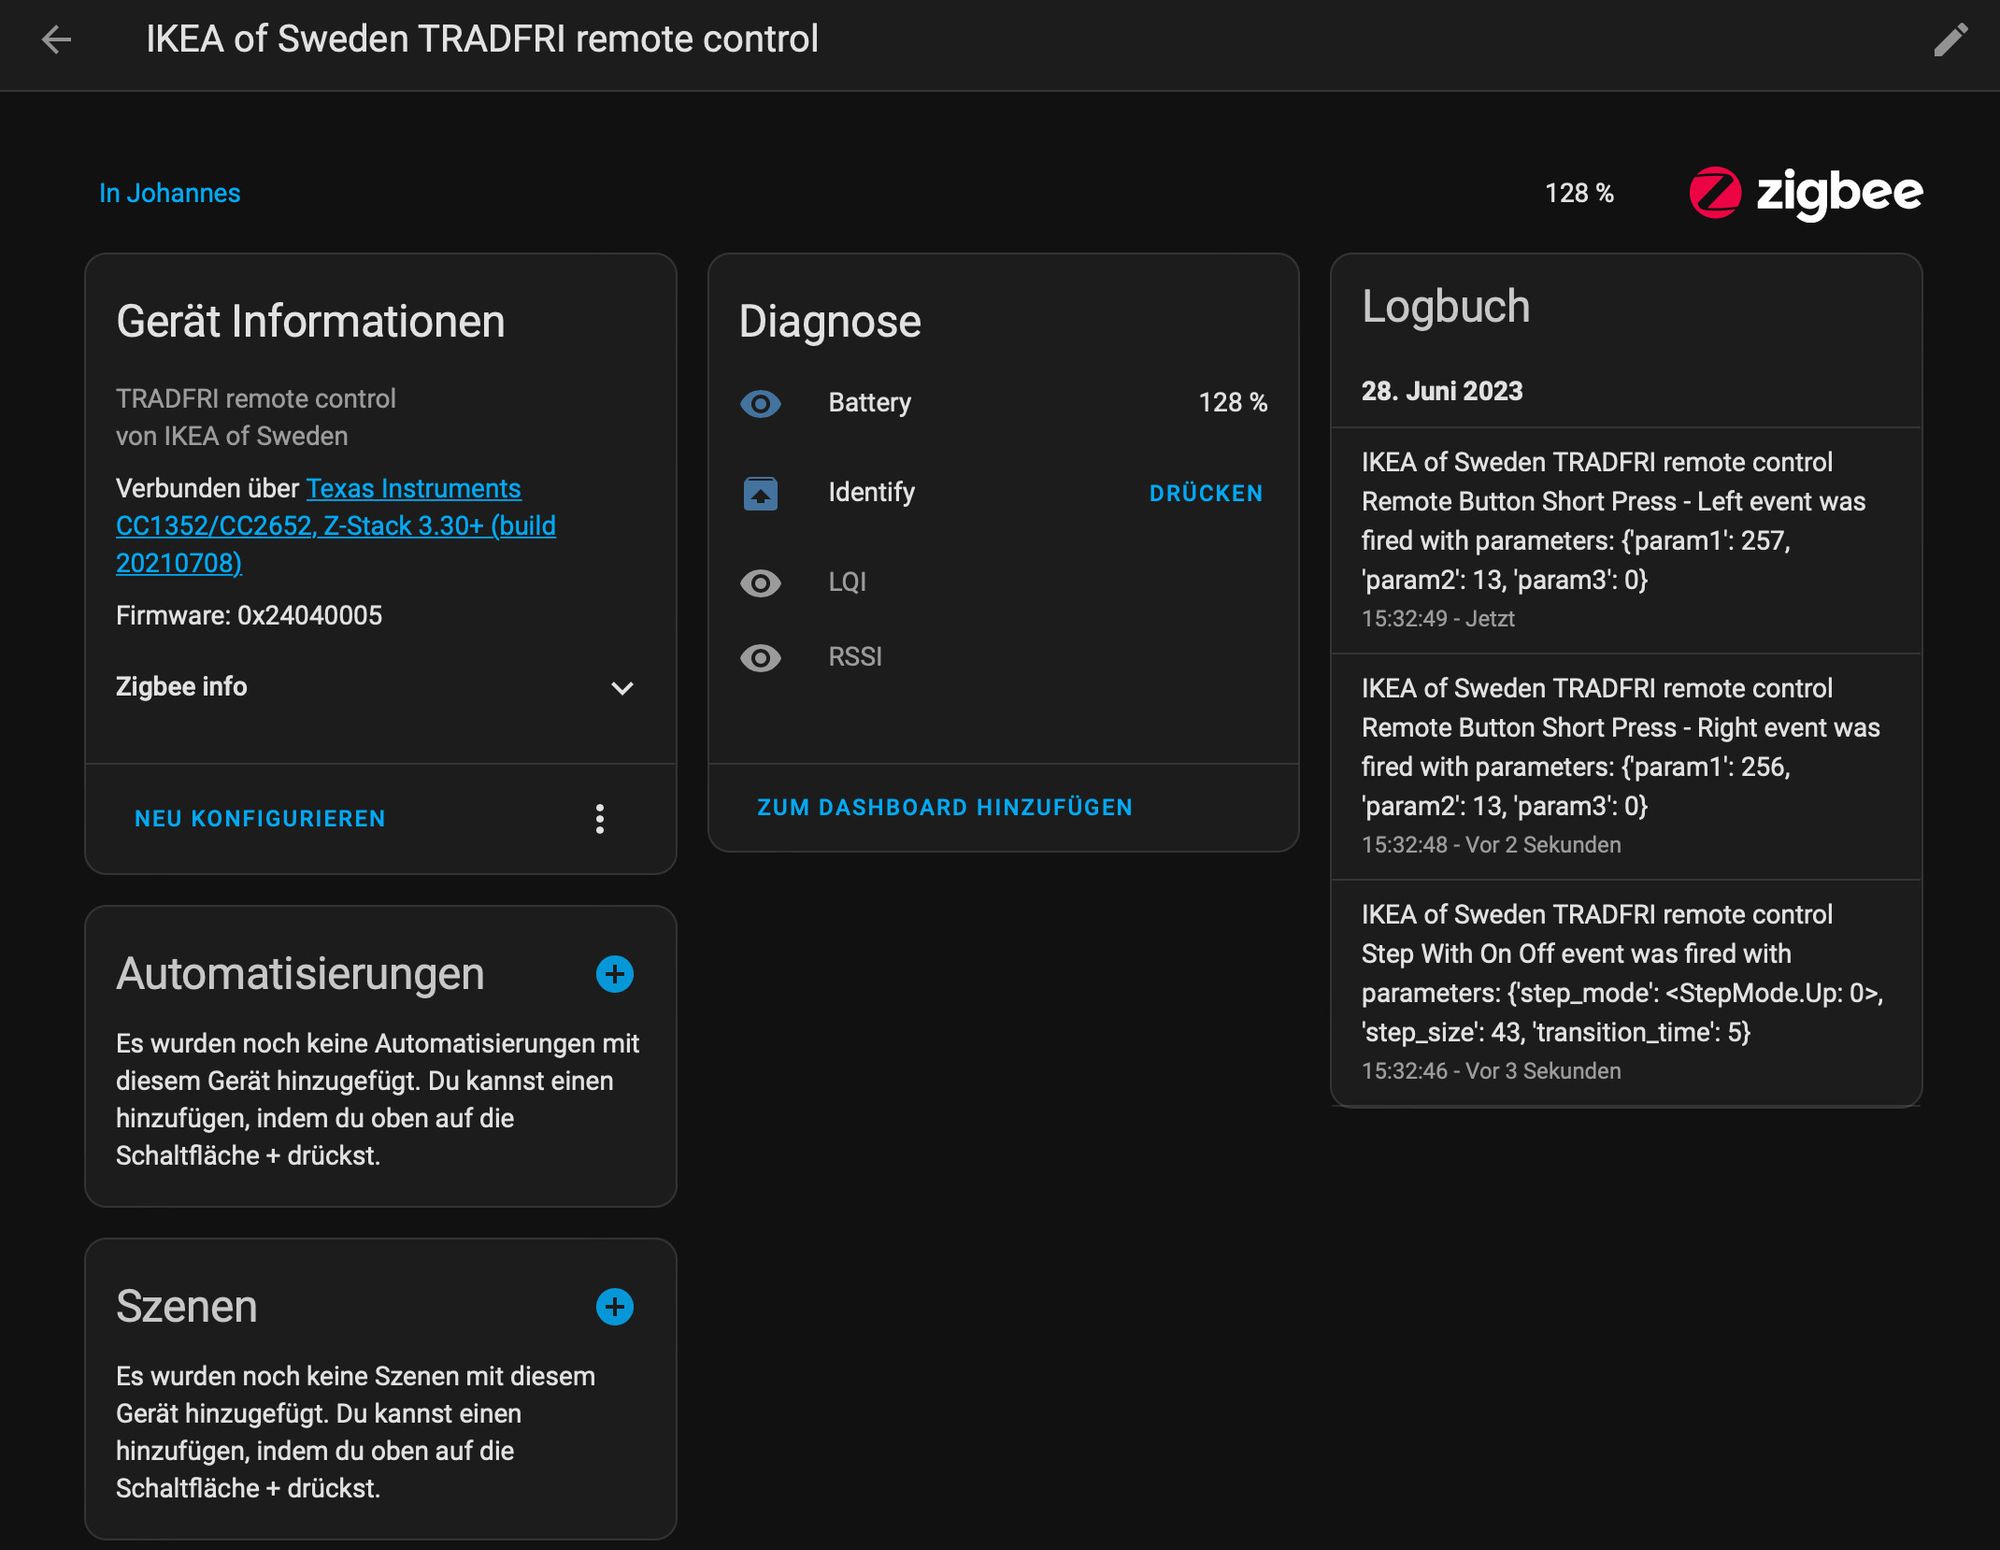
In order to use the events, automations must now be created with the respective events.


If you press this button it will load Disqus-Comments. More on Disqus Privacy: Link